Back to Home
Creating a Light Box with Arduino
2/3/2025
I've been diving more and more into how computers work, and that rabbit hole led me into the world of electronics. I absolutely loved diving into this, and I have made several little gadgets at this point. Here I will showcase a desk light box I created and how I went about it.
The Idea
The idea for this project would be something simple that would sit on my desk. As I was browsing online, I found 8x8 LED matrices online and went ahead and purchased one. The project then turned into a light box that would be able to cycle through different patterns and colors. I also thought it would be a fun challenge to learn how to use a lithium polymer (Lipo) battery and make the box rechargeable.
Starting the Project
In order to start this project, I had to make sure that I had the correct components. For this, I ended up using an Arduino Nano as the micro-controller, a small 500mAh lipo battery, and then a simple rocker switch and button.
To program the micro-controller, I used C++. While this was a relatively new language for me, it wasn't too challenging and I found it similar to other languages I've programmed with in the past. I also don't need to mess too much with memory allocation at all for this specific project.
As for the software and libraries I used, I programmed in the Arduino IDE and I used the FastLED library in order to control the lights, although all of the patterns on the display were created by me.
Lastly, I was able to 3D print the enclosure for the components on a Bambu Lab printer.
Trial and Error
When I started this project, once I was able to get the LEDs working, I immediately jumped into planning out the enclosure for the components. I was very excited to start working on modeling the 3D print, but I probably should have waited until I actually knew what components were going into it. However, things worked out in the end.
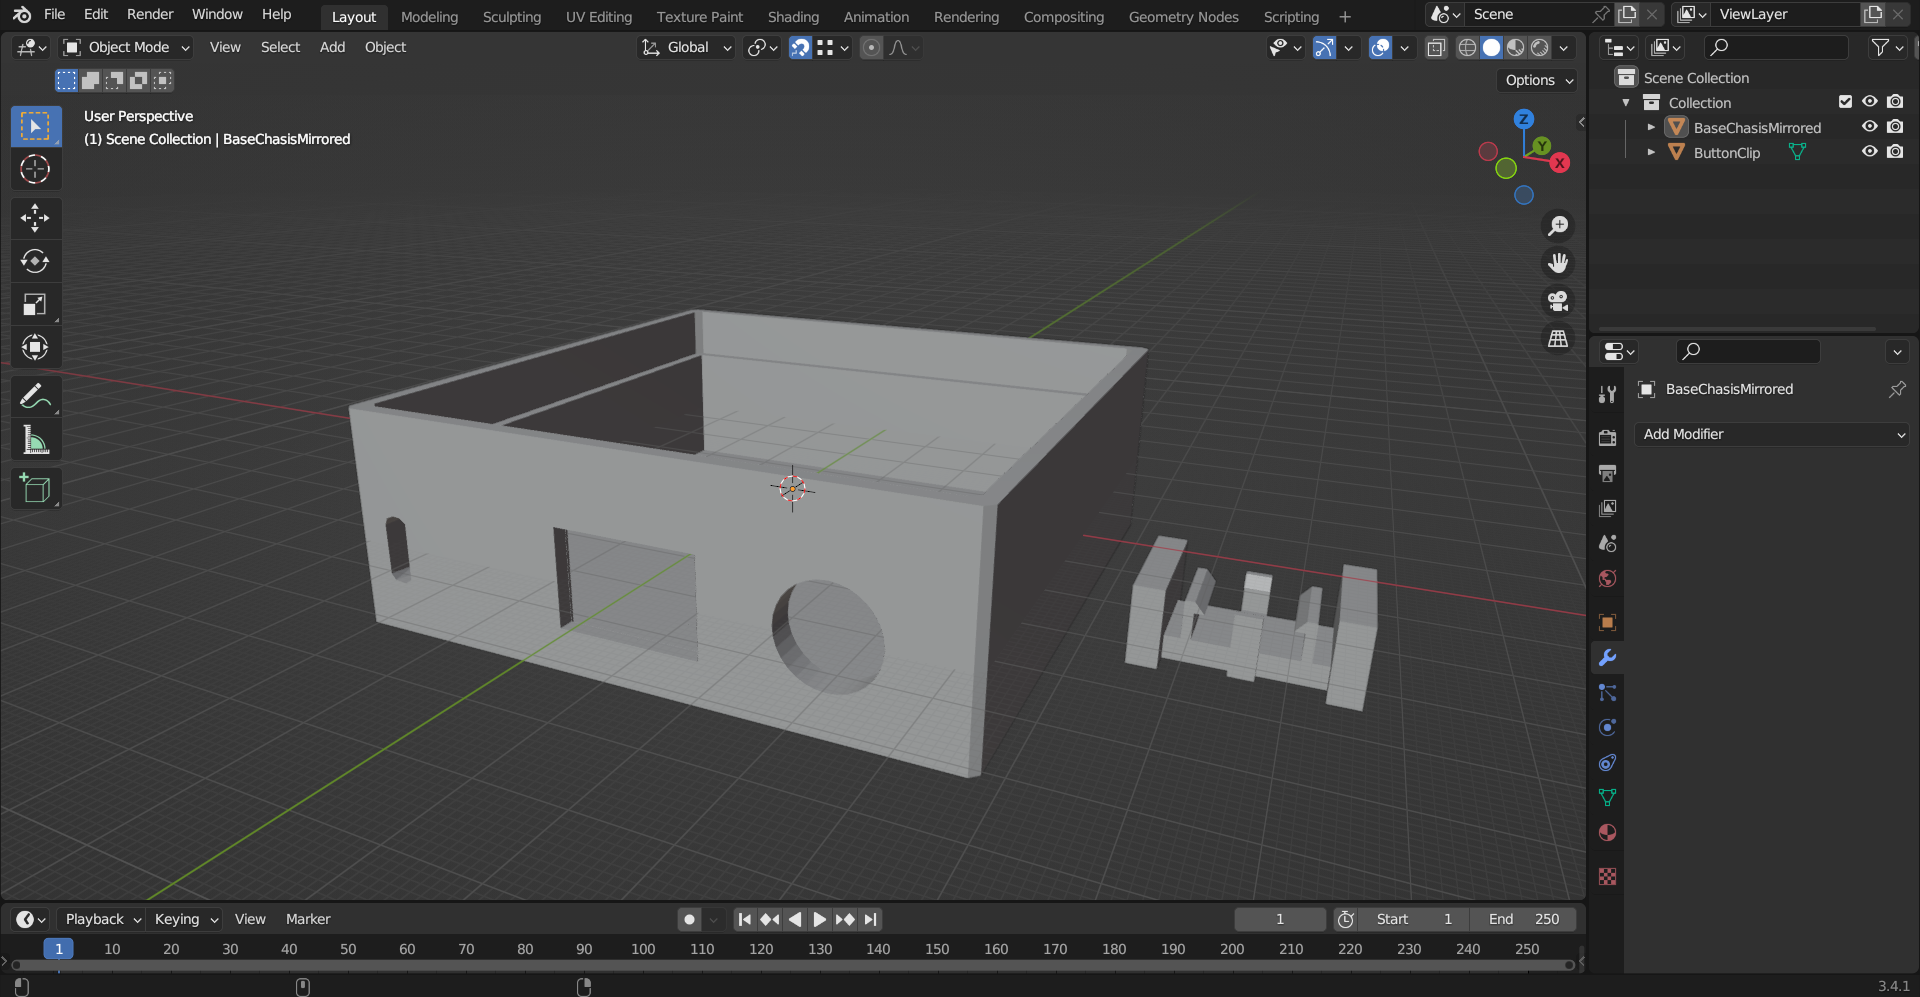
To model the enclosure, I used Blender. The enclosure is made up of two parts, the main body and the cap. I went through several iterations of this to ensure that everything fit correctly. The body was relatively straight forward. It is a box with an open top that has a small lip on the inside that the cap sits on. The main iterations for that were to get the rocker switch and button to fit properly, as well as expose the USB C port for charging.

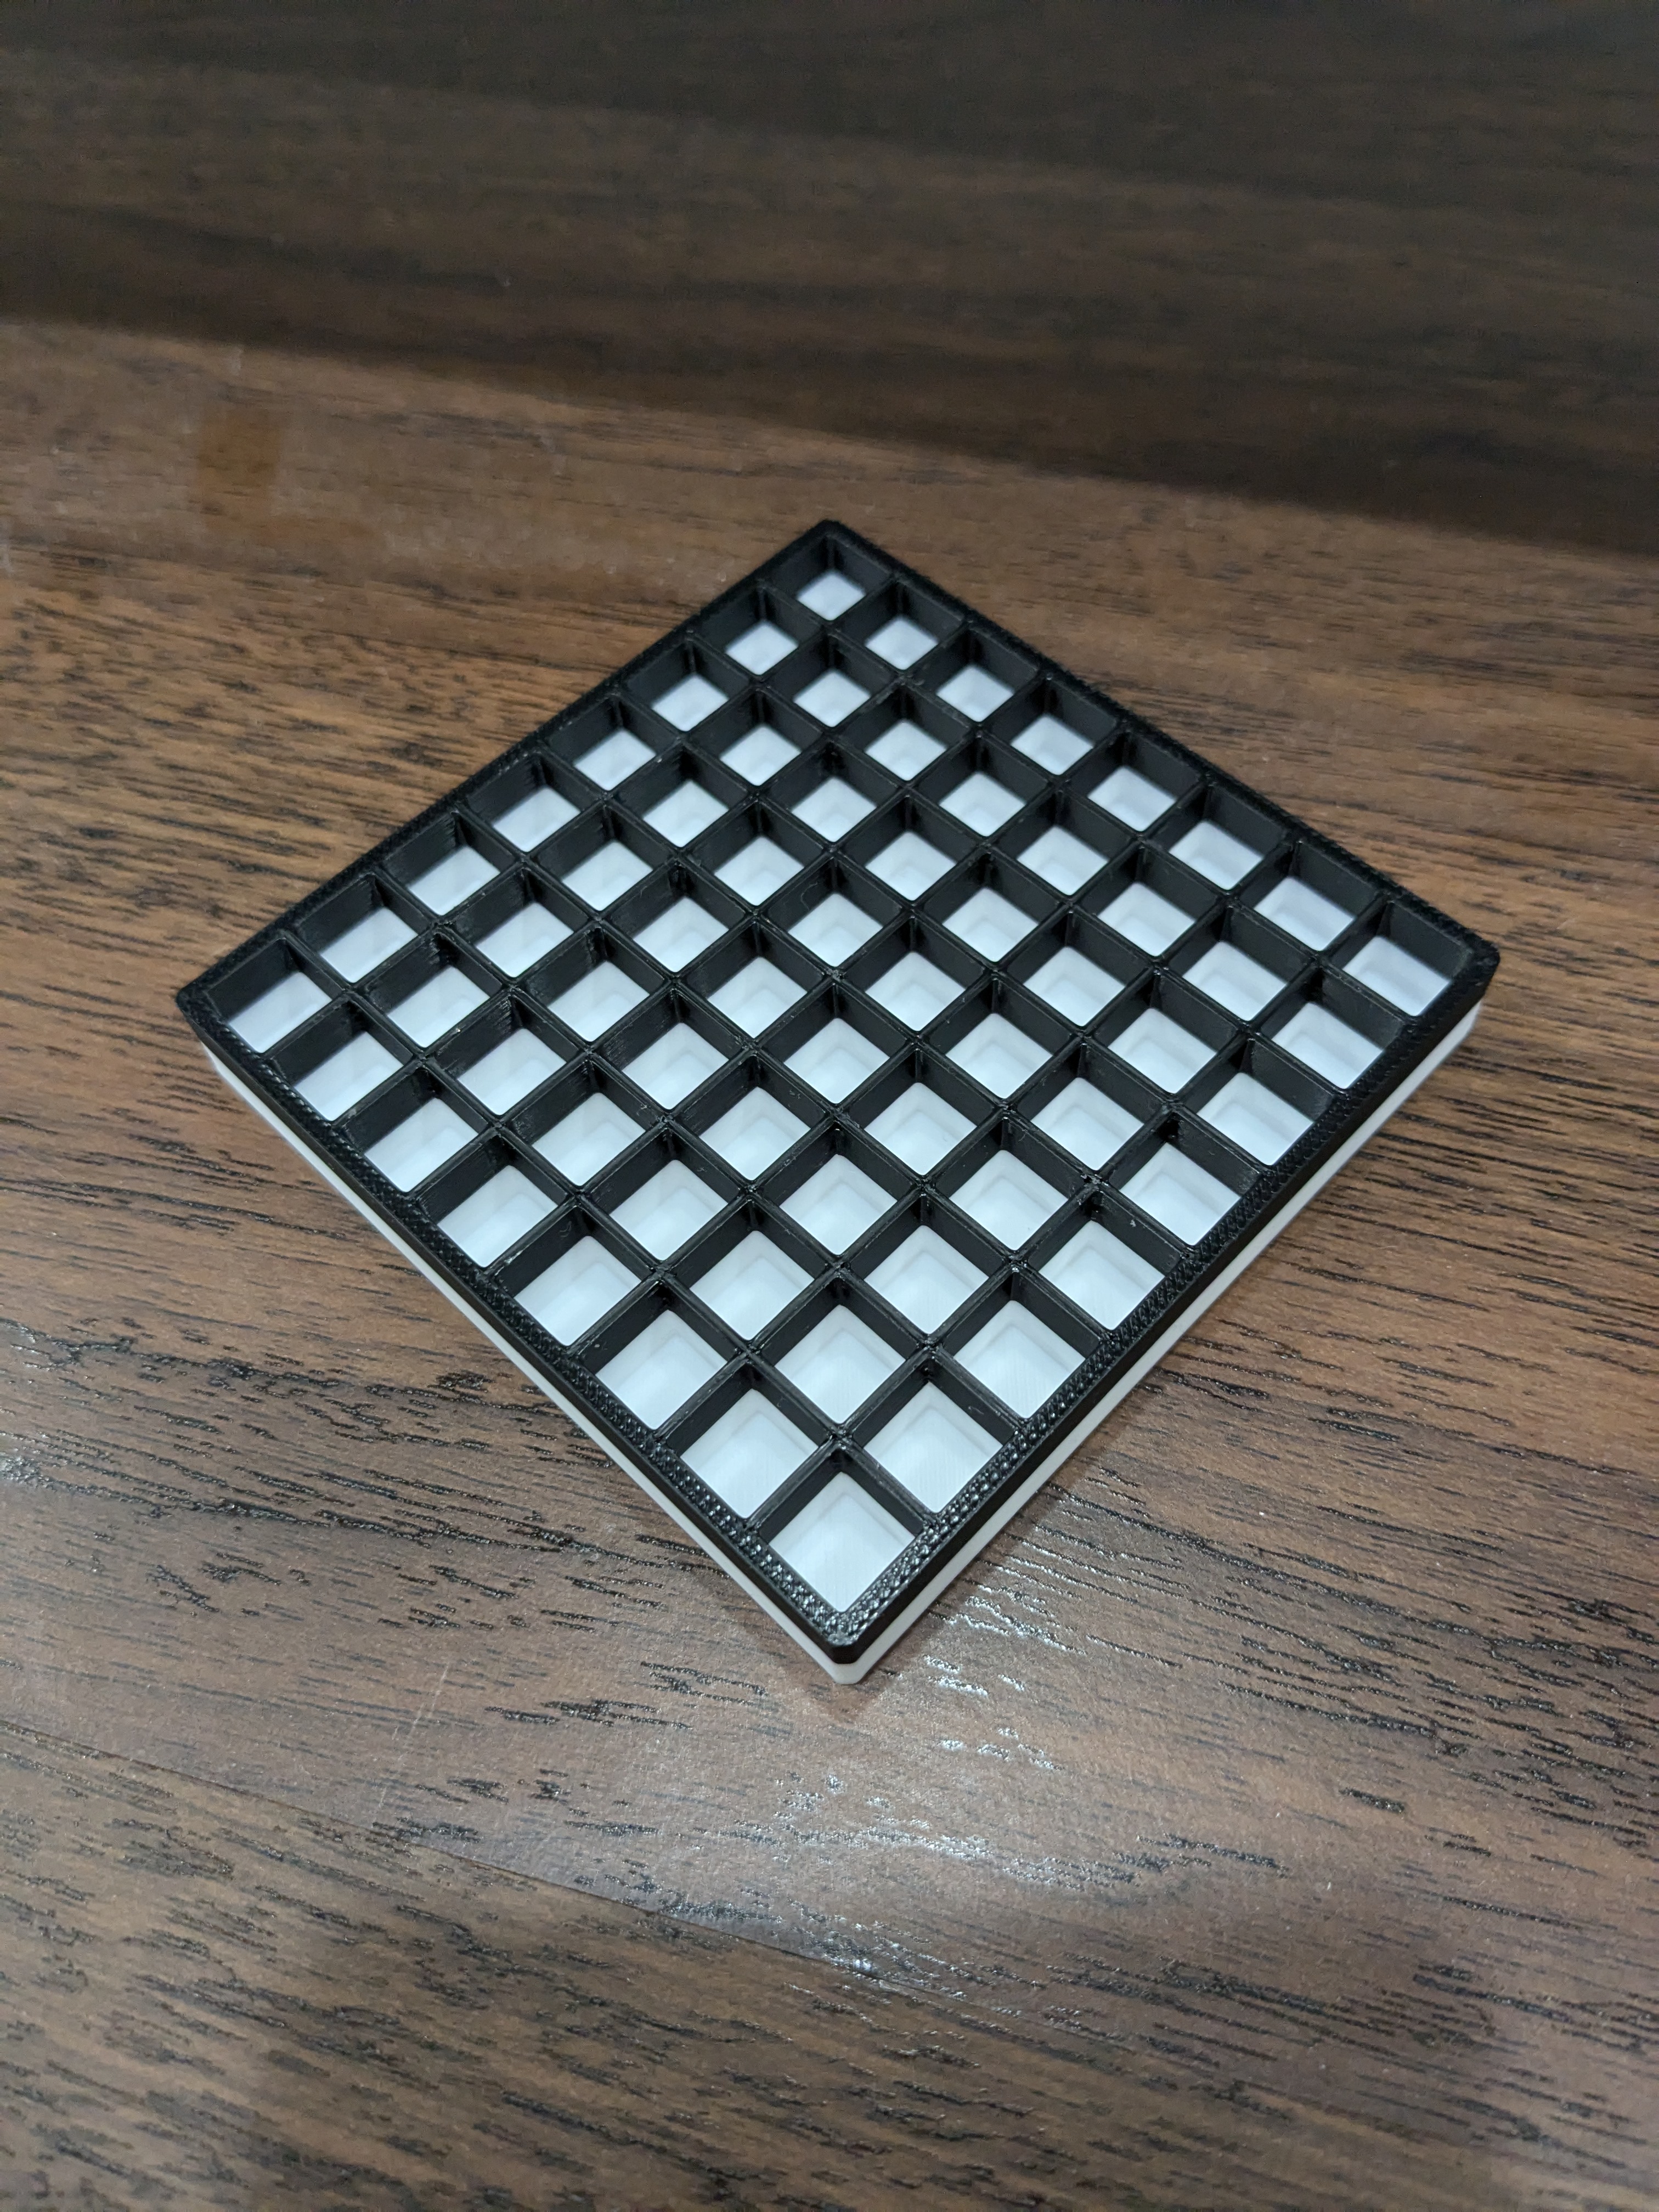
For the cap, I wanted to figure out the best way to display the LEDs through the PLA (the plastic used for printing) but still keep it secure. I messed around with designs that didn't have each individual "pixel" separated, which created a smoother and more blurred light effect across the top. After some testing, I ended up creating a grid that did separate each pixel as I believe that made the different patterns and designs easier to see. I also printed the bottom half of the cap in black rather than white to help stop the LEDs from bleeding into their neighboring pixels.

Programming the Lights
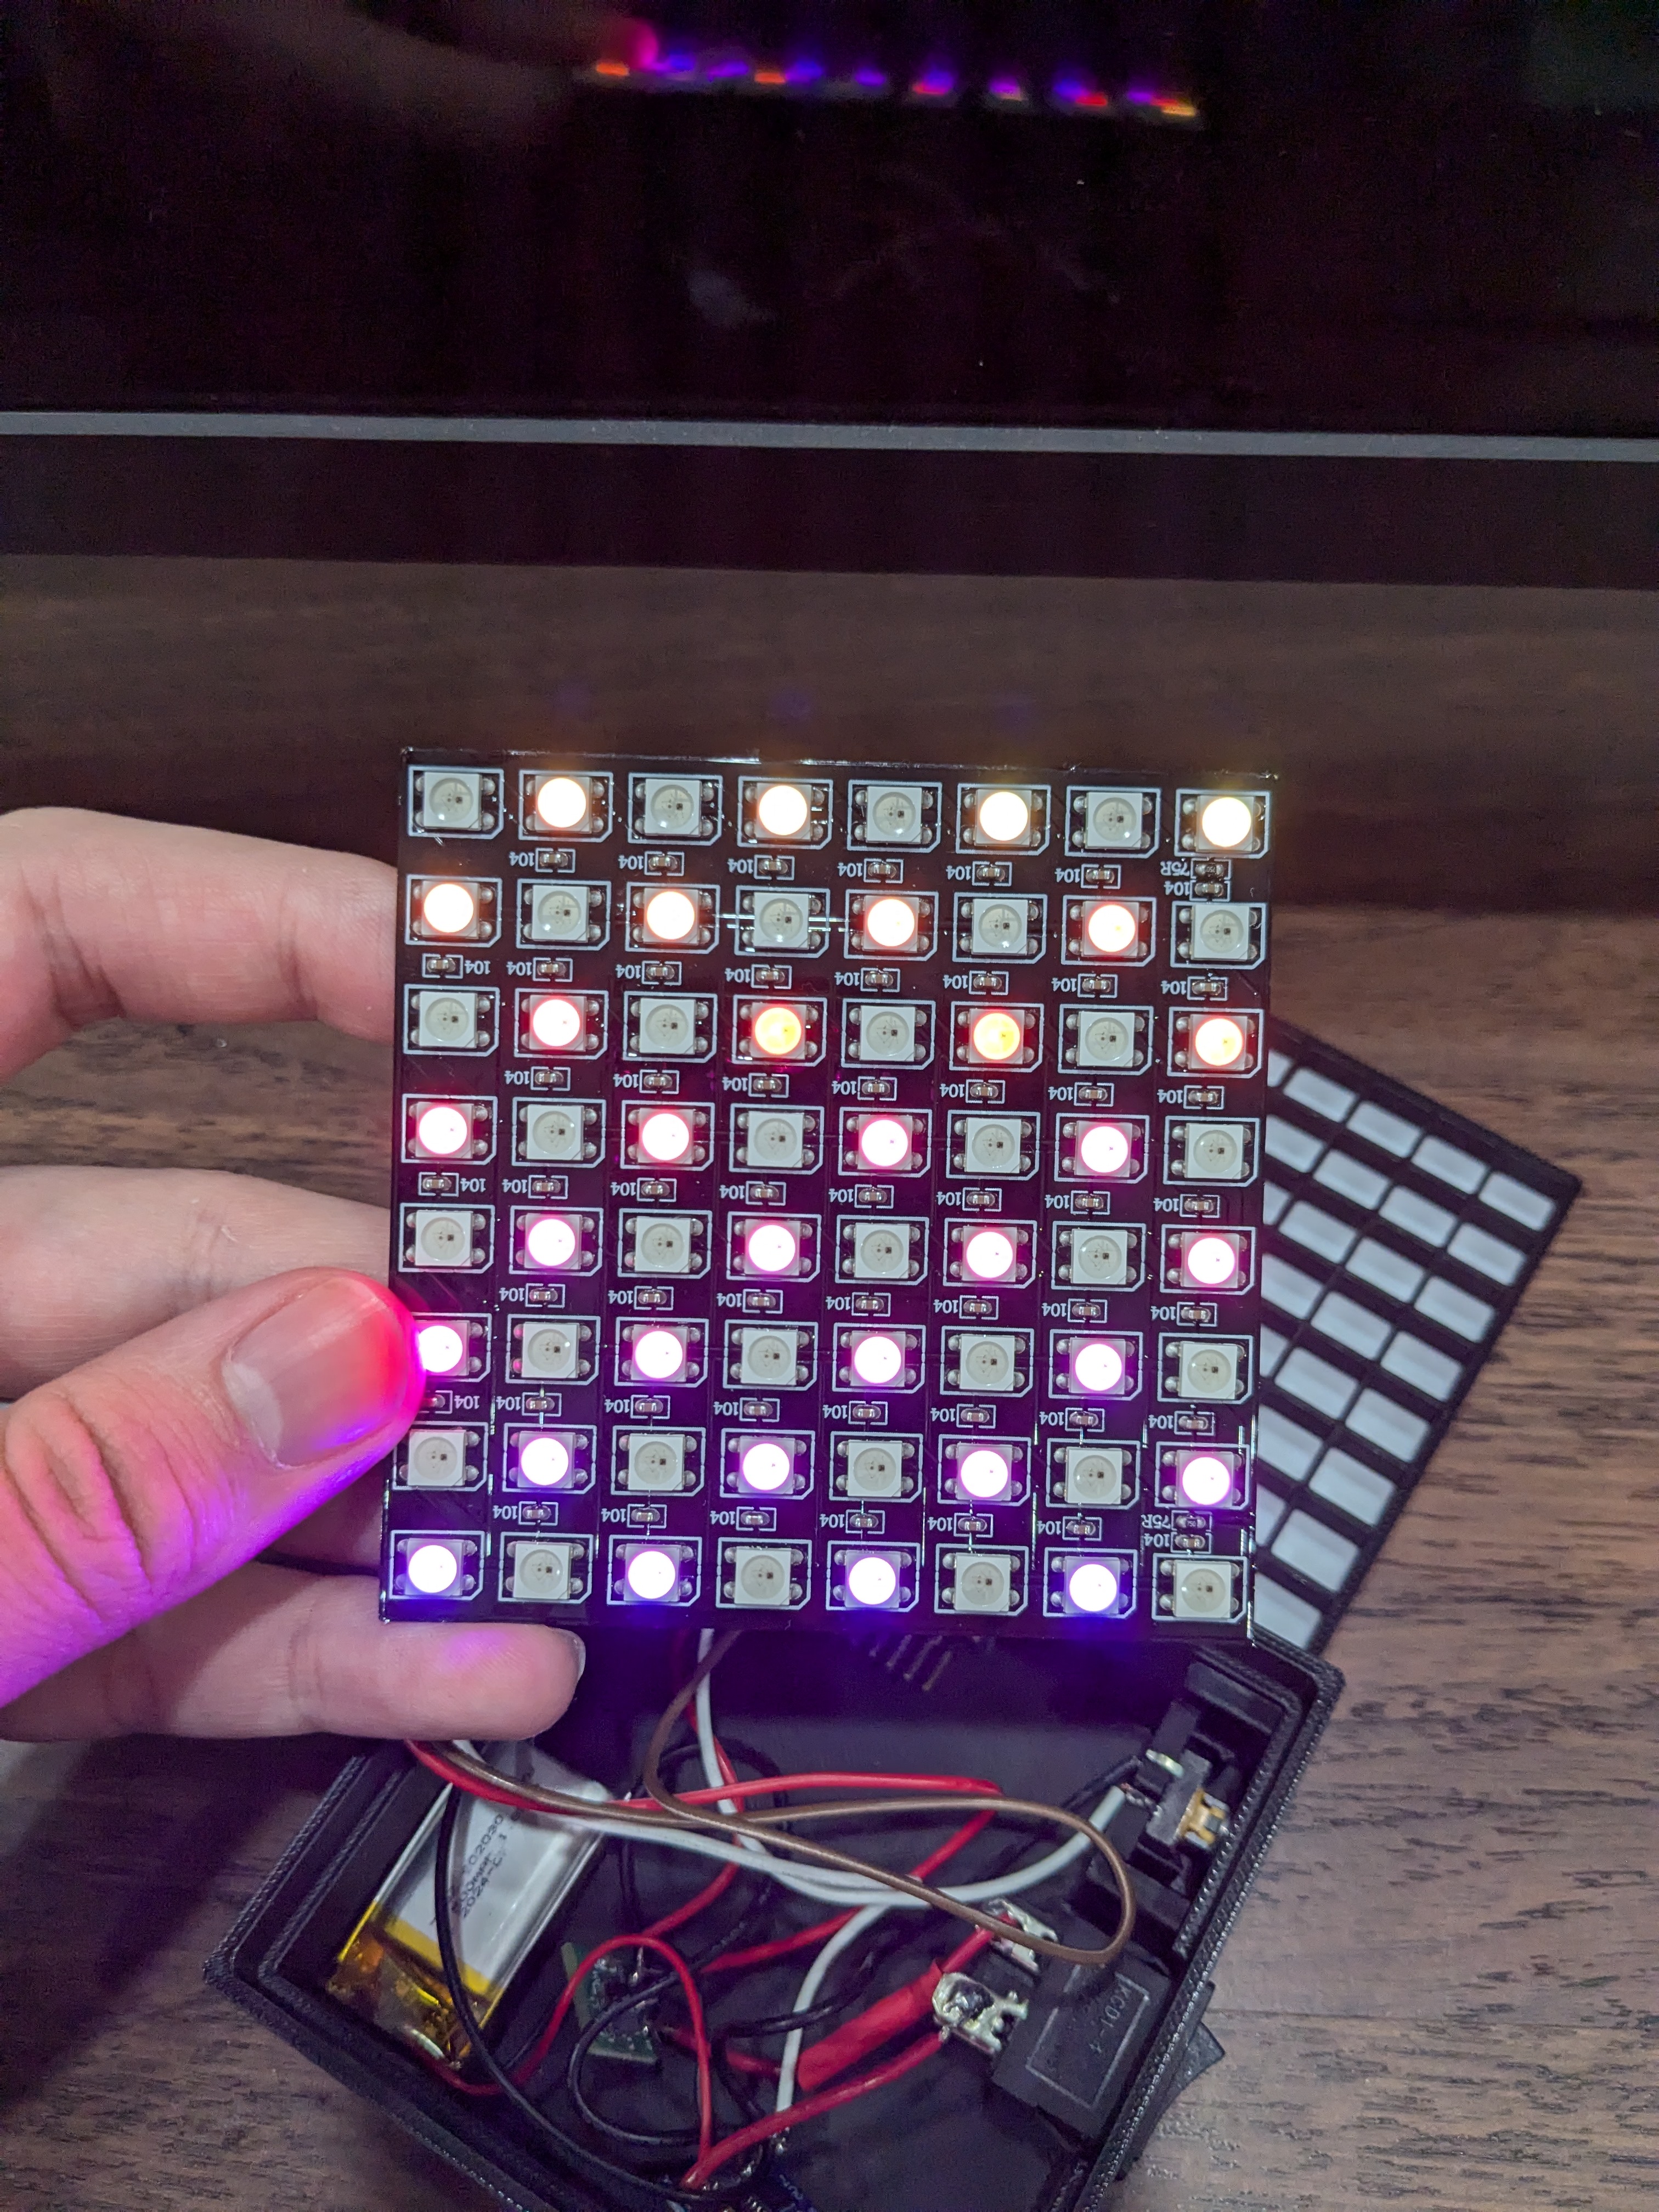
For the lights, I did not want to use any preset patterns that came with FastLED or any other LED libraries. The main challenge was that the LEDs are arranged in a "snake-like" pattern throughout the matrix, meaning that the top row goes from left to right, then it goes down to the second row, and then goes right to left. I created a simple function that recognizes this and allows me to get a pixel on the grid by a coordinate system (x and y positions), making things much easier to program. From there, I was able to have a lot of fun creating different patterns and designs!

The Final Product
I am very happy with how this project turned out. You can view a demo of me switching through the different patterns in the following YouTube short: https://youtube.com/shorts/tNKtyGVeH0s.
On a full charge, the battery will keep the light box running for around 2 hours. The only thing that I would still need to come back to is the USB-C port, as the port on the case is not deep enough for a USB-C cable to fit, meaning I currently have to remove the cap to charge it.
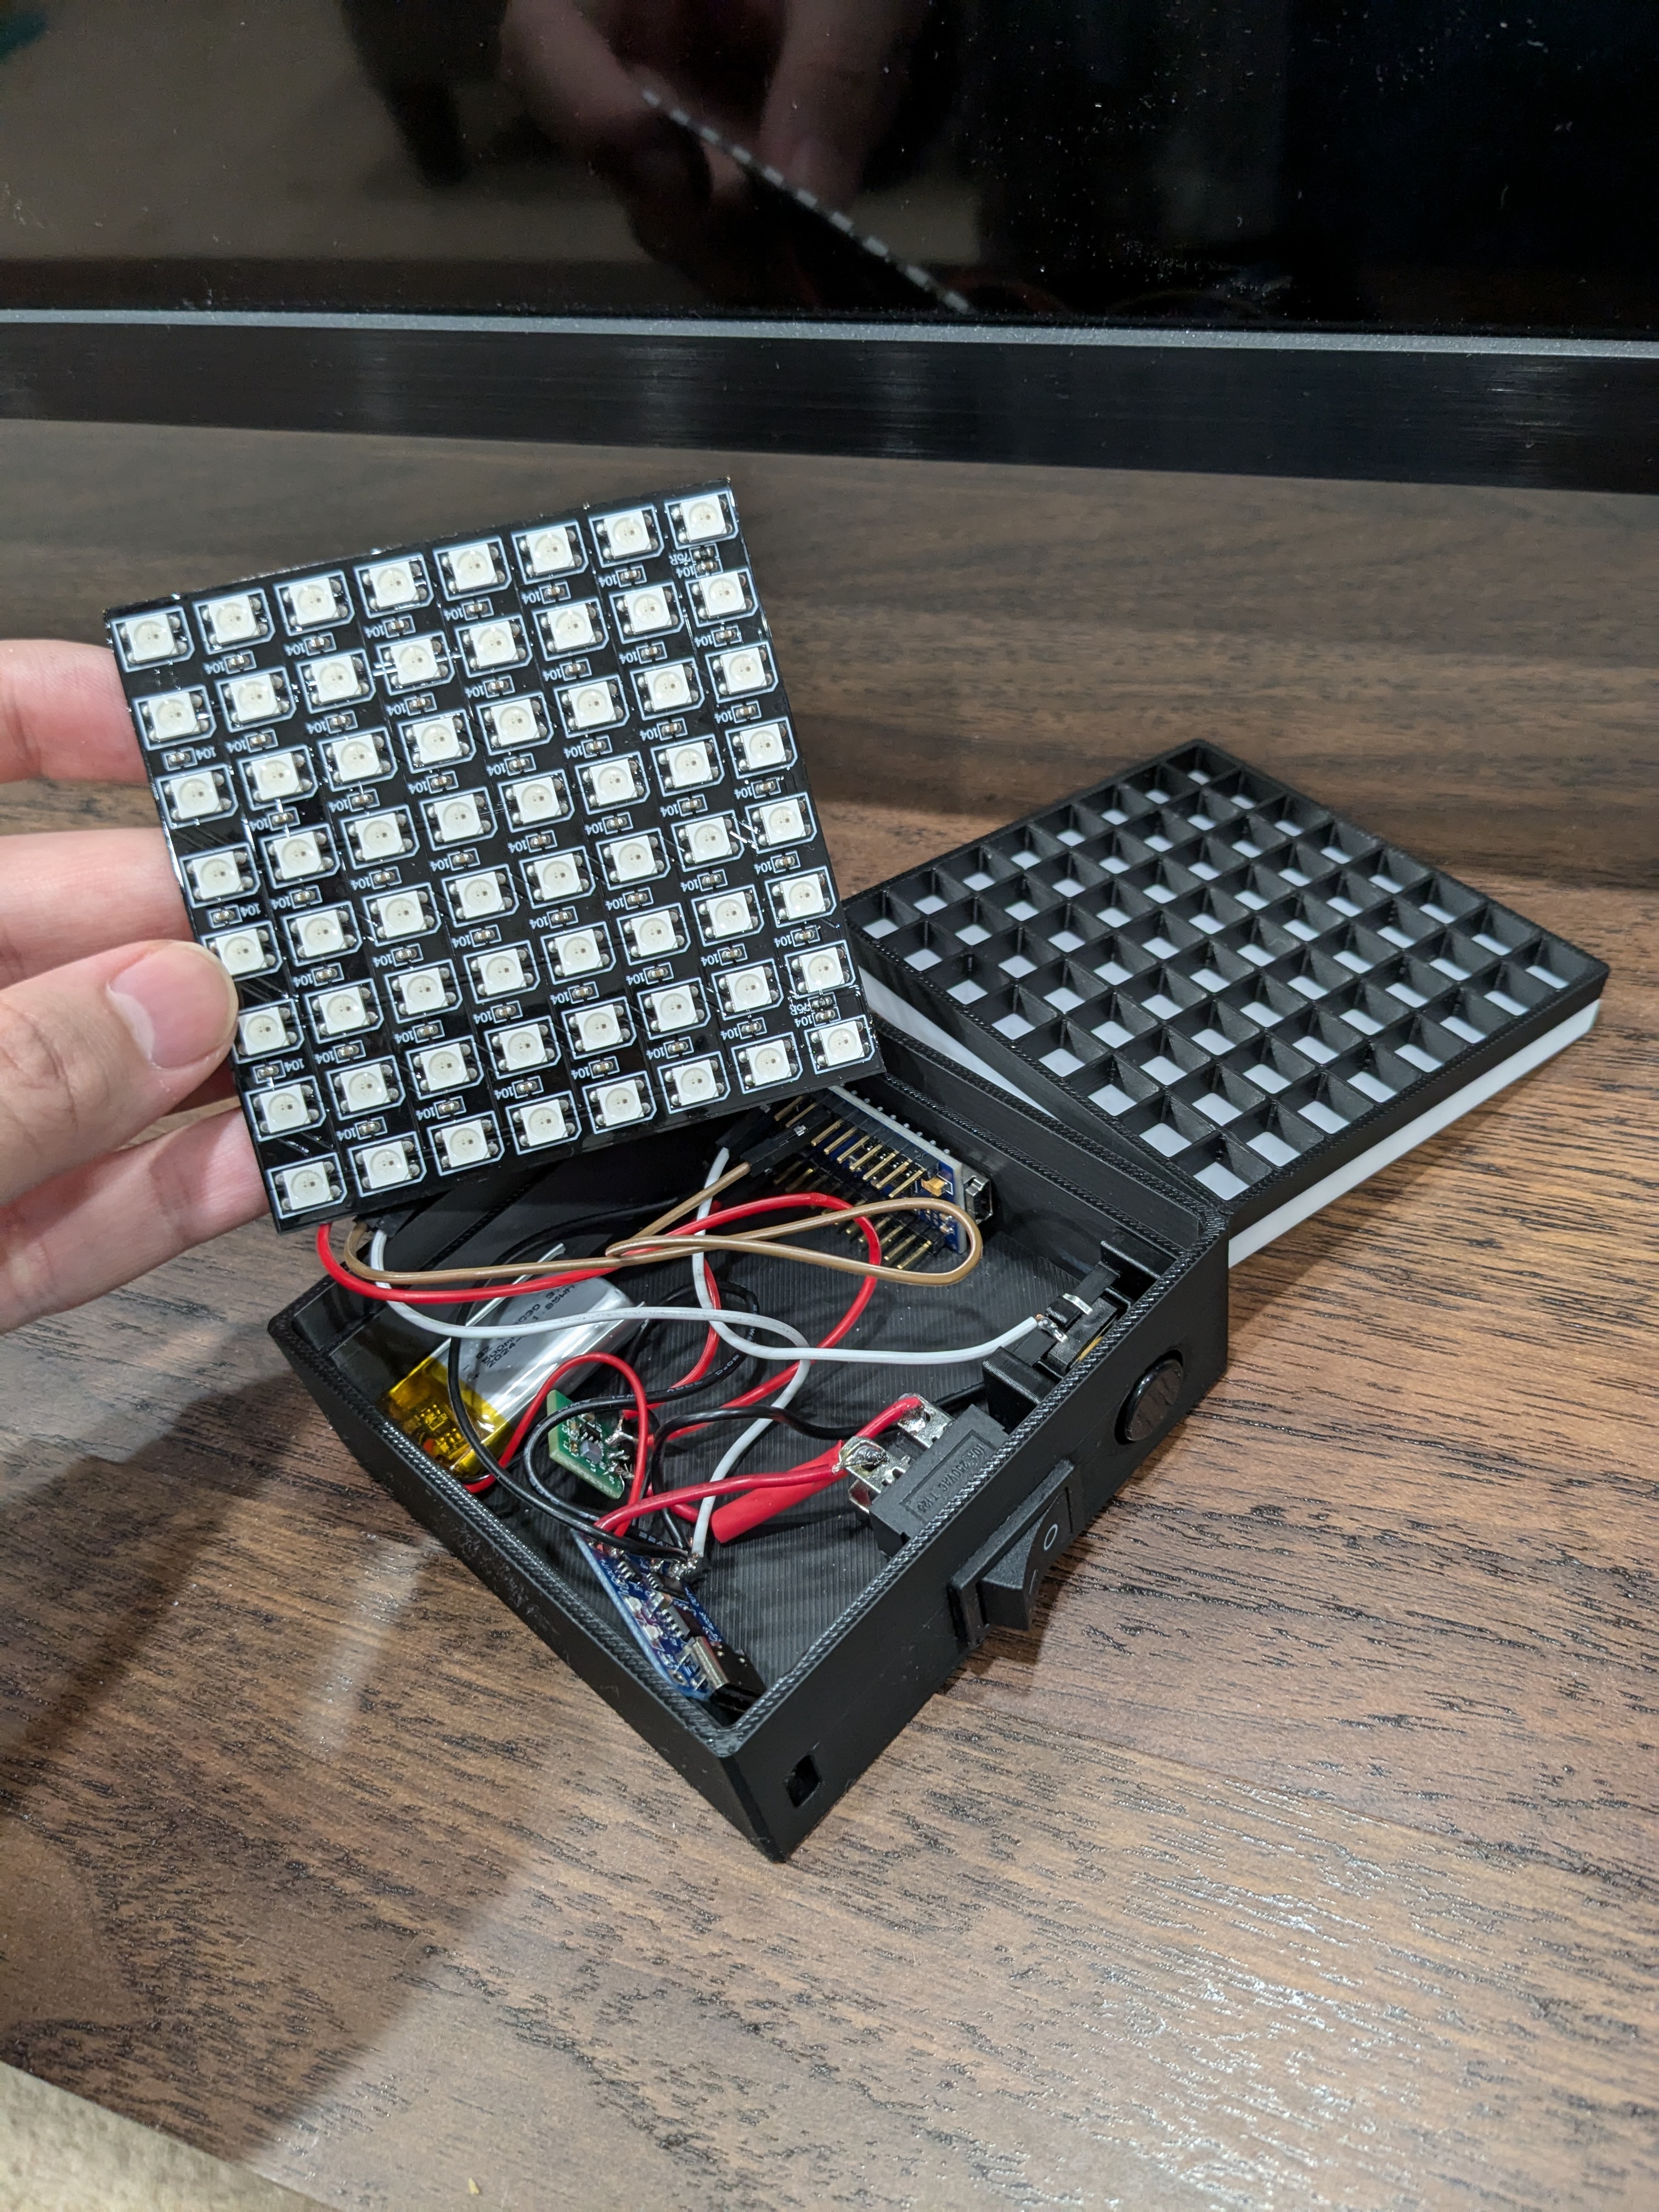
Either way, this was an incredibly fun project to make. It was an intro to soldering for me (you can tell by the screenshot below) and I learned a ton about electronics as well that I believe will be helpful for me in my future.

Back to Home